What Is PCSX2?
PCSX2 is a free and open-source PlayStation 2 (PS2) emulator. Its purpose is to emulate the PS2's hardware, using a combination of MIPS CPU Interpreters, Recompilers, and a Virtual Machine that manages hardware states and system memory.
What Can It Do?
- PCSX2 allows you to play PS2 games on your PC with added features like:
- Custom resolutions and upscaling
- Virtual and shareable memory cards
- Save-states
- Patching system
- Internal recorder for lossless quality at full speed
PCSX2 Setup & Configuration
Getting Started
This guide is split into two sections. First, we provide a universal script to automatically install PCSX2 across all major Linux distributions (including Ubuntu, Mint, Fedora, Arch Linux, and CachyOS).
In the second section, we will walk you through configuring the emulator step-by-step so you can start booting your games.
1. Automated Installation
Run the following command in your terminal to automatically download the latest PCSX2 AppImage, configure its shortcut, and set up the desktop application menu icon:
curl -sSL https://raw.githubusercontent.com/rmuxnet/ps5-linux-guide/main/docs/public/scripts/PS2/pcsx2.sh | bash2. Configuring The Emulator
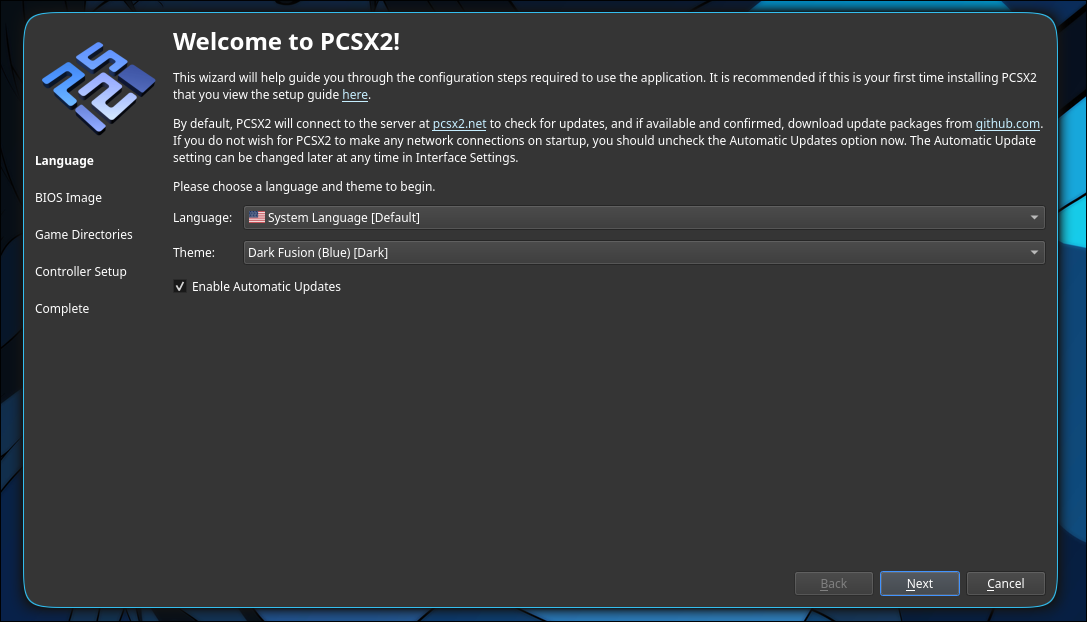
Step I : First Launch Of PCSX2
Upon launching PCSX2 for the first time, you will be greeted by a Quick Setup Guide. Configure the following settings before proceeding:
- System Language & Theme: Select your preferred language and UI theme (or leave them at their default values).
- Automatic Updates: Ensure the automatic updates checkbox remains enabled so your emulator stays up to date.
Once configured, click Next to continue.
Step I.1
Piracy Notice
This guide does not condone or support piracy in any form. To comply with copyright laws and support developers, you should exclusively use your own legally dumped bios.
| Console Region / Type | Recommended BIOS | Description & Advantage |
|---|---|---|
| 🌍 All Regions (Best Choice) | USA v1.60 (SCPH-39001) | Highly Recommended. The definitive baseline for everyday emulation. Extracted from the peak "Fat" hardware era, it offers maximum game compatibility, perfect stability, and full native support for virtual internal hard drive (HDD) setups. |
| 🇺🇸 North American Games | USA v2.00 or v2.20 (SCPH-70012 / SCPH-90001) | Best for standard NTSC-U games. Extracted from "Slim" hardware revisions, these files include integrated network configuration drivers, making it much easier to configure PCSX2 Netplay for online multiplayer. (Note: Lacks native virtual HDD support). |
| 🇪🇺 European Games (PAL) | Europe v2.00 (SCPH-70004) | Essential for native PAL format releases. Matches the strict 50Hz timing parameters of European and Australian game discs to prevent audio de-sync, broken speed scaling, or screen tearing. |
| 🇯🇵 Japanese Imports | Japan v1.00 or v1.00 (DESR) | Used for testing or native NTSC-J imports. The DESR variant comes from the rare PSX DVR hybrid console and features the nostalgic Sony XMB (XrossMediaBar) menu interface, though it can be less stable for general gameplay. |
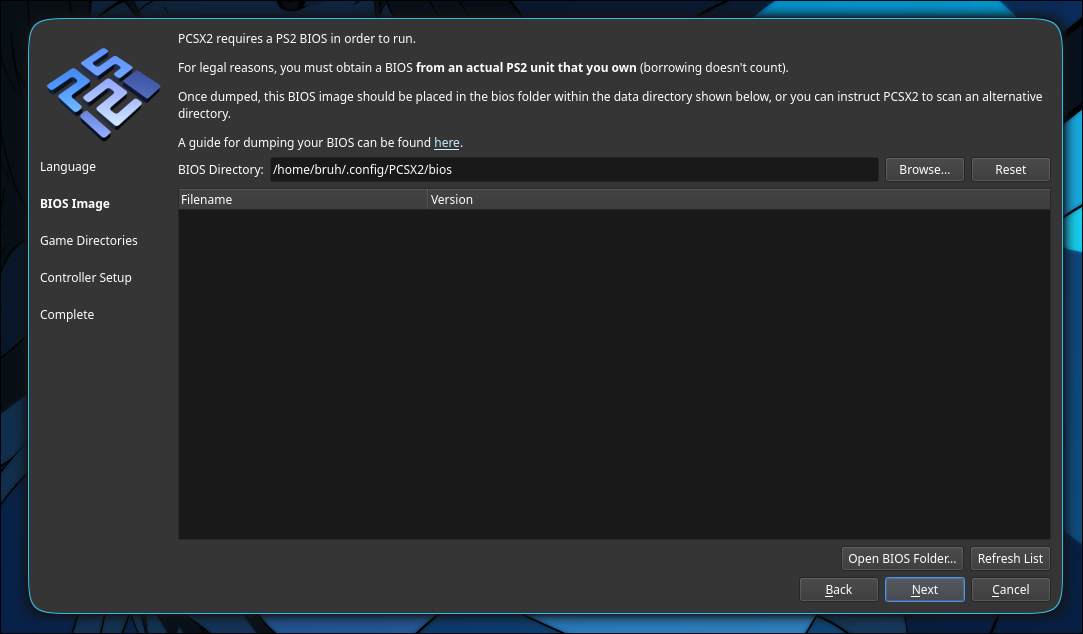
Placing the BIOS
Copy your chosen BIOS file(s) and paste them directly into PCSX2's default directory:
/home/username/.config/PCSX2/bios Click the Refresh List button on the down right side of the window.
PCSX2 will scan the folder and detect your BIOS.
Click Next to move on to the Game Directories setup.
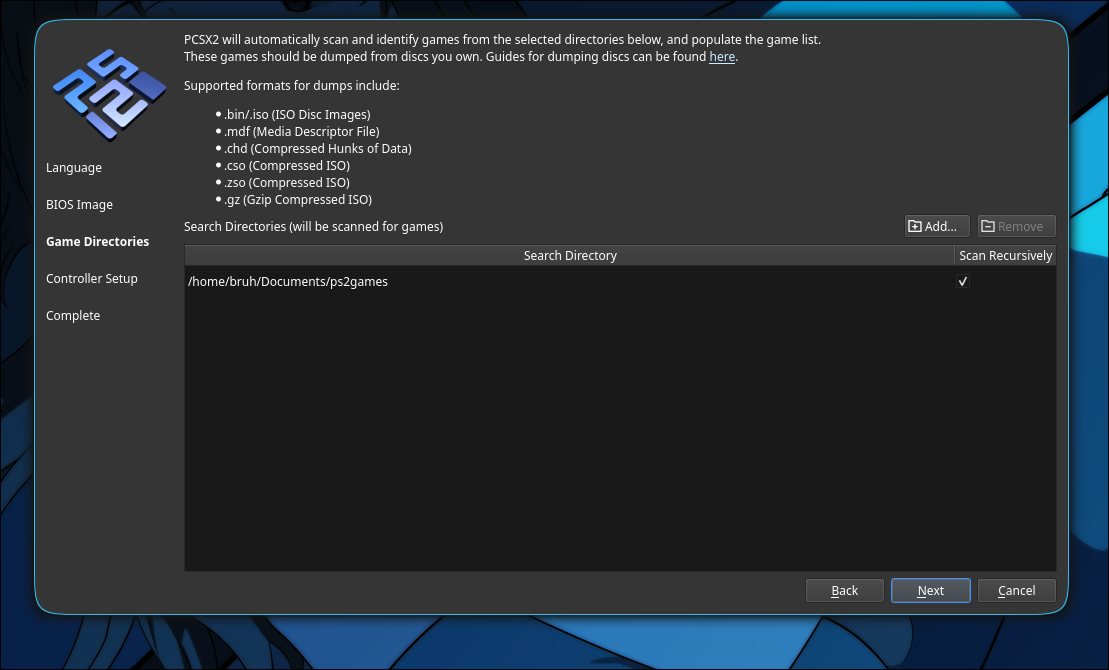
Step I.2 : Games Location
Piracy Notice
This guide does not condone or support piracy in any form. To comply with copyright laws and support developers, you should exclusively use your own legally dumped game backups.
Now here you will have to choose where you will store your games, your games should be stored on the partiton where you have much more space or if you only have one on that one , you can make a directory named ps1games for example in /home/username/Documents/ps2games, and just click yes when it asks you to scan recusively and click next.
Step I.3
The next two windows cover your input preferences and visual configuration:
- Controller Setup: Connect your gamepad and use the Automatic Mapping tool to quickly bind your buttons.
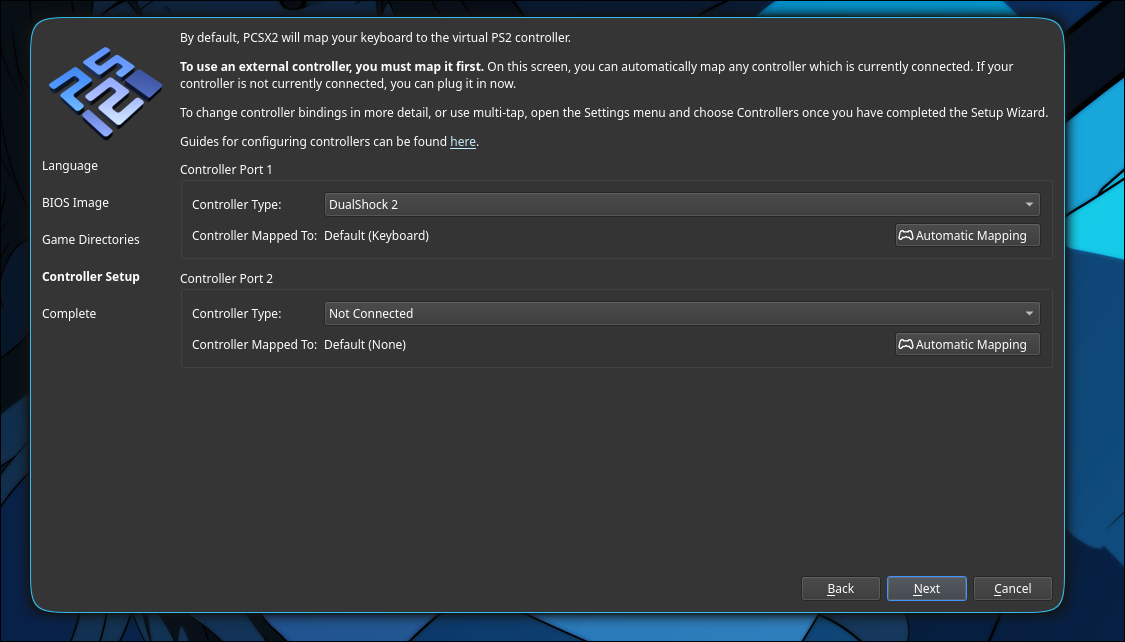
Feel free to tweak these choices to match your hardware preferences, then click Next to complete the wizard!
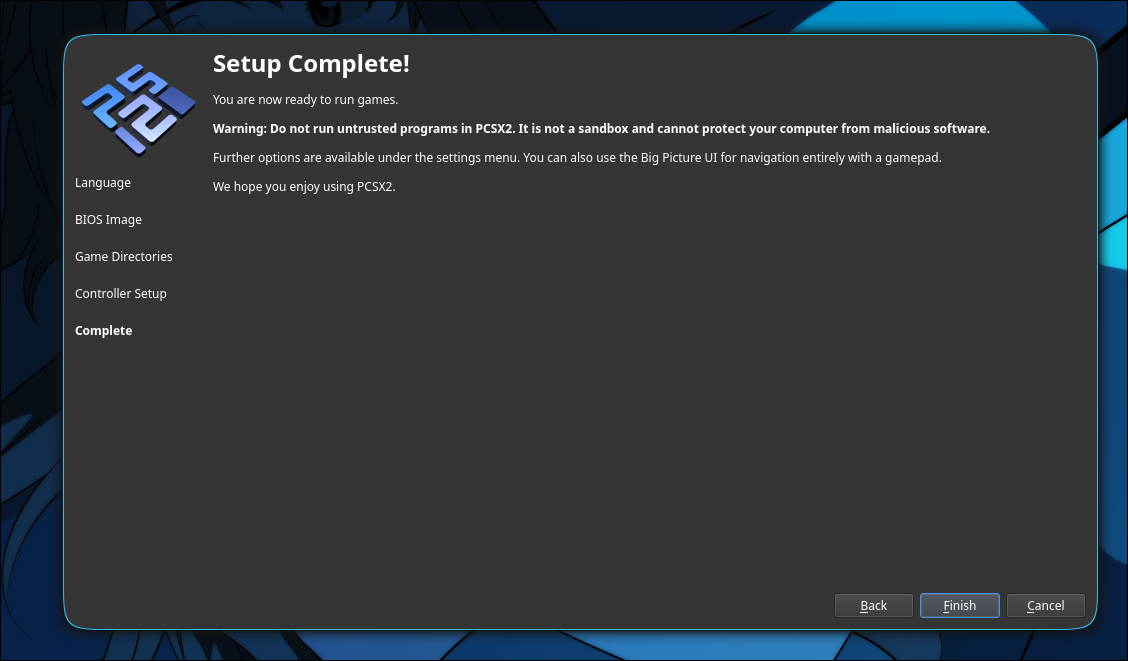
Step I.4
Complete the Wizard: You have successfully configured all the necessary settings! Simply click Next on the summary screen to close the setup guide.
If you encounter performance issues, compatibility errors, or crashes, please consult the official documentation:
👉 Official Resource: PCSX2 Documentation Hub 👉 Official Resource: PCSX2 Wiki